|
Contact the seller in advance before paying for the order! Faux Plique-a-jour Earrings
Plique-a-jour is an enameling technique where there is no backing or base to hold the enamel. The result is like a glass painting in miniature. I found this technique so lovely that I wanted to try to copy it in polymer clay, something that proved to be quite challenging.
I tried different frames for the “enamel” and added silver leaf, but the leaf crackled and didn’t cover the frame properly. It was also difficult to add metal paint so I landed eventually on mica powder. Creating the frame for the "plique-a-jour enamel" presented more challenges. I first tried using a clay gun to make “jewelry wire like” snakes. But that did not look nice as it was difficult to get the joints smooth. It was also difficult not to distort the roundness of the snakes. I also found that the plique-a-jour frame must be solid, not too thin or light. The “enamel” is liquid polymer clay, and if not in a solid frame, the whole piece will be very soft and can be bent like rubber. I ended up cutting the Plique-a-jour frame from a sheet of clay, using shape cutters and templates. After a few attempts, I learned to make the frame as smooth and accurate as possible. Once you have added the mica powder, you cannot sand the piece, so every flaw will remain forever unless removed before curing. One advantage with this faux plique-a-jour technique is that you can use scrap clay. Like me, you probably have plenty of it from other projects. Unless you want a particular color on the frame instead of metallic, you can use the scrap clay since the color will be covered with the mica powder. The technique is a bit time consuming though, but don’t be discouraged. It is worth the waiting. So, do you want to give it a try? What you need to make these faux plique-a-jour earrings:
I am not overall happy with the result of the faux Plique-a-jour. The liquid clay does not turn hard, but remains a bit rubbery, and the earrings look a bit like plastic. However it was fun to give it a try and I will continue to develop the technique into something that looks more exclusive. I am sure that there are many ways to use it, and you may develop it into something unique yourself. 
Return from Faux Plique-a-jour Earrings to Polymer Clay Tutorials |


Ranger Adirondack Alcohol Inks
MisterArt
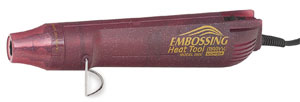
Embossing heat gun
Dick Blick Art
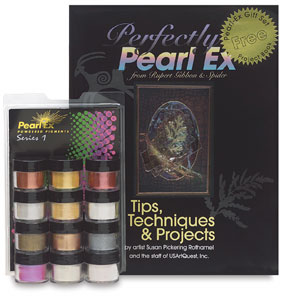
Mica powder
Jacquard Pearl-Ex Pigments
Dick Blick Art
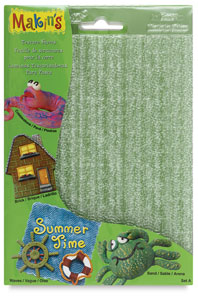
Makin's Clay Texture Sheet Set
Dick Blick Art

Faux Surfaces In Polymer Clay
Delphi Glass Books

The Art Of Polymer Clay
Delphi Glass Books

The Art Of Jewelry Polymer Clay
Delphi Glass Books

Polymer Clay Beads
Delphi Glass Books

Encyclopedia Of Polymer Clay Techniques
Delphi Glass Books
Promote Your Page Too
