|
Contact the seller in advance before paying for the order! Red And White Nugget Bracelet
I made the nuggets in this bracelet a while ago, but didn't quite know what to do with them, until I found these beautiful little Rhyolite coins. I found that the red brown tone in the polymer clay nuggets blended beautiful with the green and brown tones in the coins, and decided to put them together in a project. The clasp is made of a metal bead I bought many years ago, but never used for some reason. But as I was going through my beads, I rediscovered it, and decided to use it in this project. If you want to see how I made the clasp, you can click here. 
For this project you'll need: String on a crimp bead and thread the wire through a wire guardian. Slip on the clasp and pass the wire back through the crimp bead. Use a pair of chain nose pliers or a pair of crimping pliers to fasten the crimp bead. Cover it with a crimp cover. 
Step 2: 
Step 3: You can now choose to fasten a jumpring to the wire guardian, or hook the clasp directly in the wire guardian. Since jumprings sometimes open by accident if the bracelet is pulled, I often use the wire guardian only. You can of course use a soldered ring, but then you must fasten it before you crimp. If you use a jumpring, remember to add it to the total length of your bracelet, if not it will be additionally longer. Return from Red and White Nugget Bracelet to Jewelry Tutorials Contribute with YOUR tutorialMy dream is to make this site the largest and best jewelry making site there is. Where you can find tutorials on every aspect of jewelry making, a real tutorial heaven for crafters around the world. |

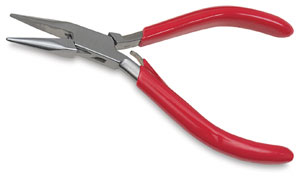
Do You need Pliers?
Stainless Steel Jewelry Pliers
Promote Your Page Too
